Today, I am sharing our toddlers’ experiences with shaving cream Easter eggs.
A few weeks ago, I made the mistake of stepping into the Easter aisles at our local Walmart. Holy moly! I was overwhelmed with the ridiculously large variety of Easter egg dye kits. How would I choose? Which one was really going to be the most toddler-friendly? Were those “spill-free” cups really spill-free? After spending 30 minutes there, I finally took a shot at the dark and grabbed a few. I also grabbed several dozen fake white eggs to use instead of boiling real eggs. Who knew?
My two-year-old niece and four-year-old nephew were coming for Easter weekend, and I thought it would be fun for the cousins to dye Easter eggs together. None had ever done it before.
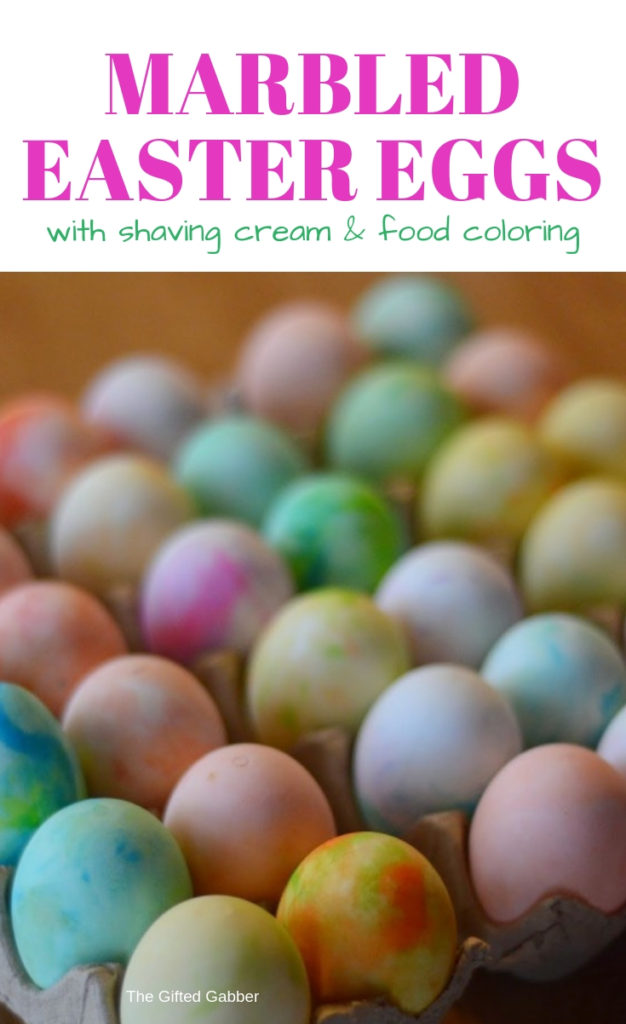
The day before Easter, I found an idea for using shaving cream and food coloring to dye eggs. I had all the supplies and the shaving cream Easter eggs seemed less daunting to me than using cups of liquid dye that might or might not be mess-free.
How to Make Colorful Easter Eggs with Shaving Cream
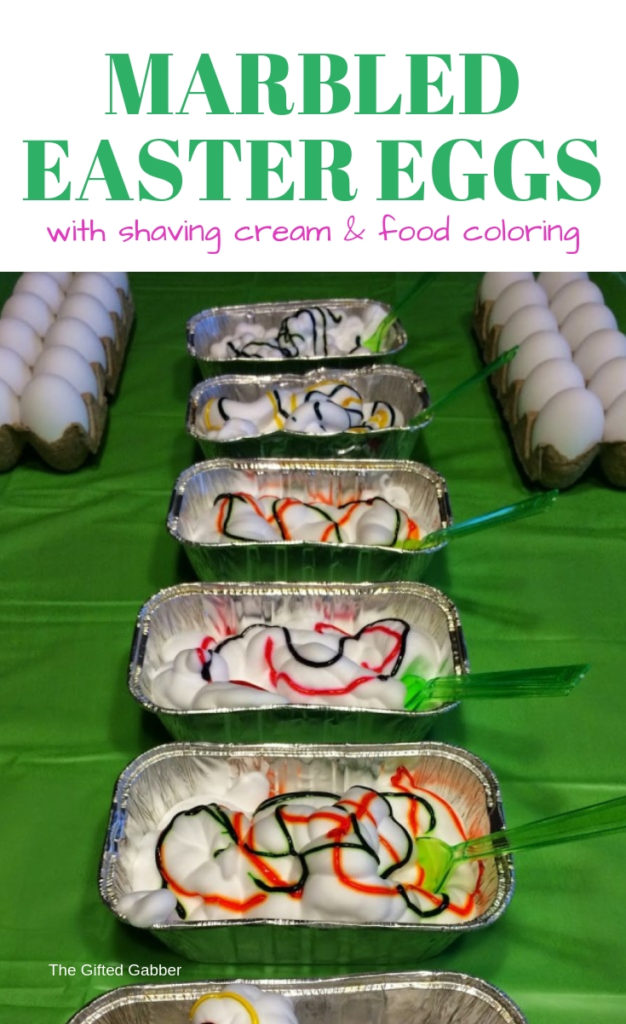
Very simply, the process involves dying Easter eggs with shaving cream in a disposable pan.
I squirted in a few drops of contrasting colors into each pan. I used pink and green together, blue and orange together, etc. A disposable pie plate had been recommended, but I went with six small aluminum pans for bread loaves because that is what I had on hand. I will say the larger, rounder and more shallow pie plates would have worked better for dying eggs with shaving cream.
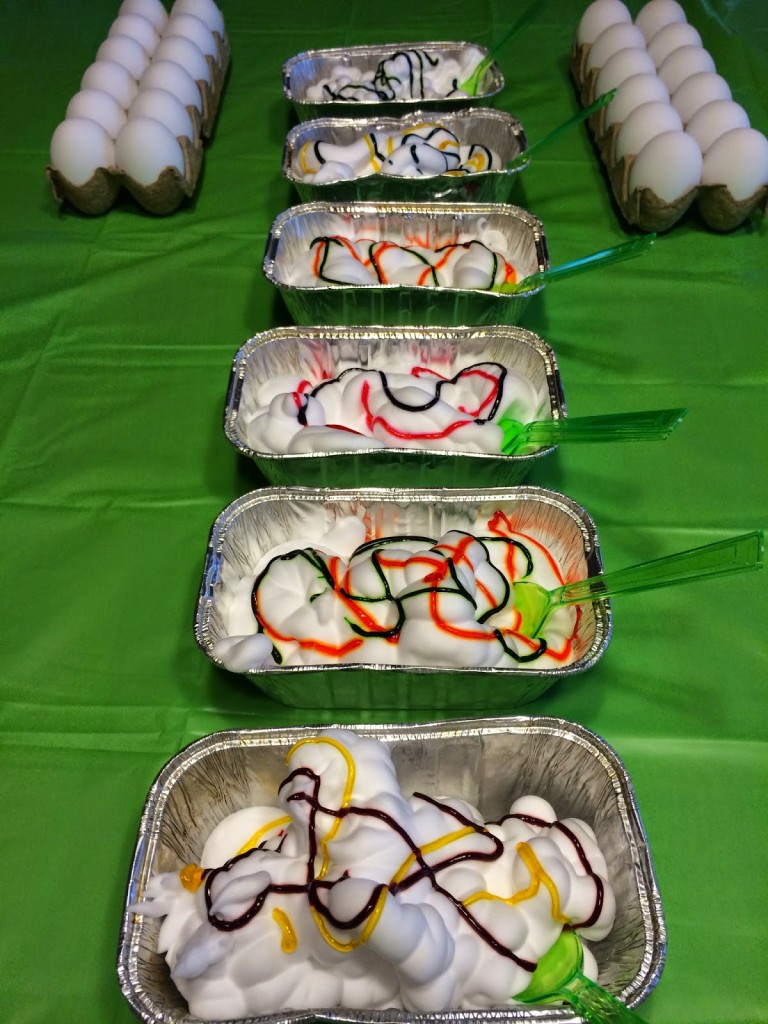
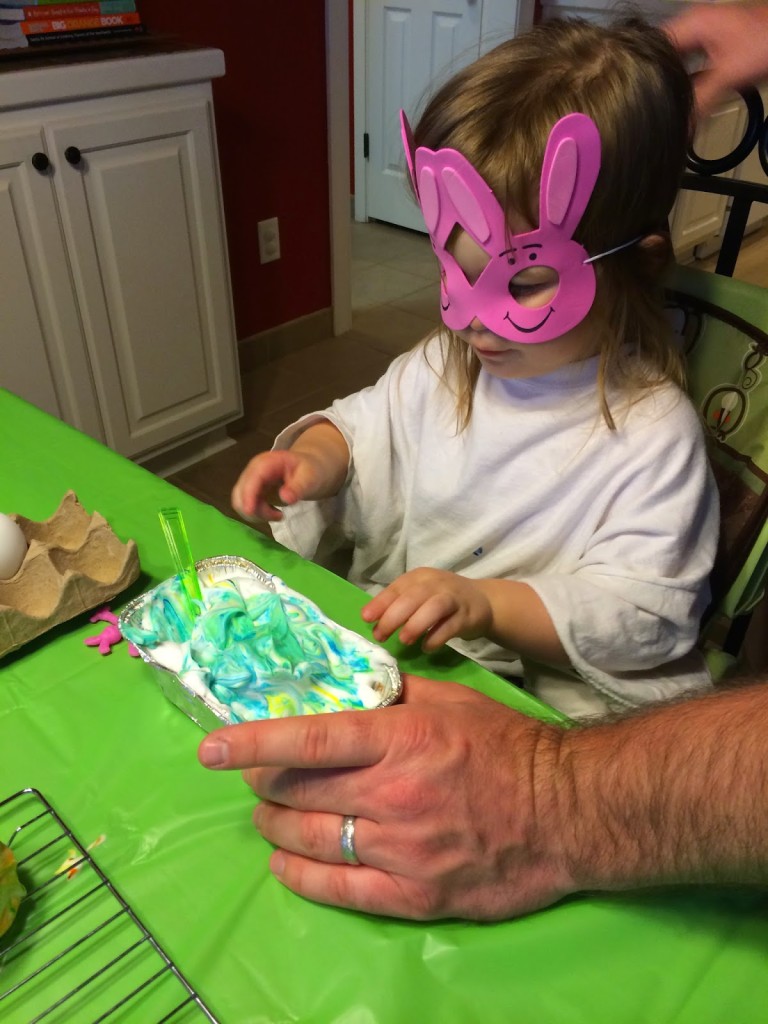
The idea is the kids – even young toddlers – have a sensory experience by rolling the eggs around in the colored shaving cream. I filled my trays halfway, and it was too much. I should have only filled up about 1/3 of the way since my pans were deep.
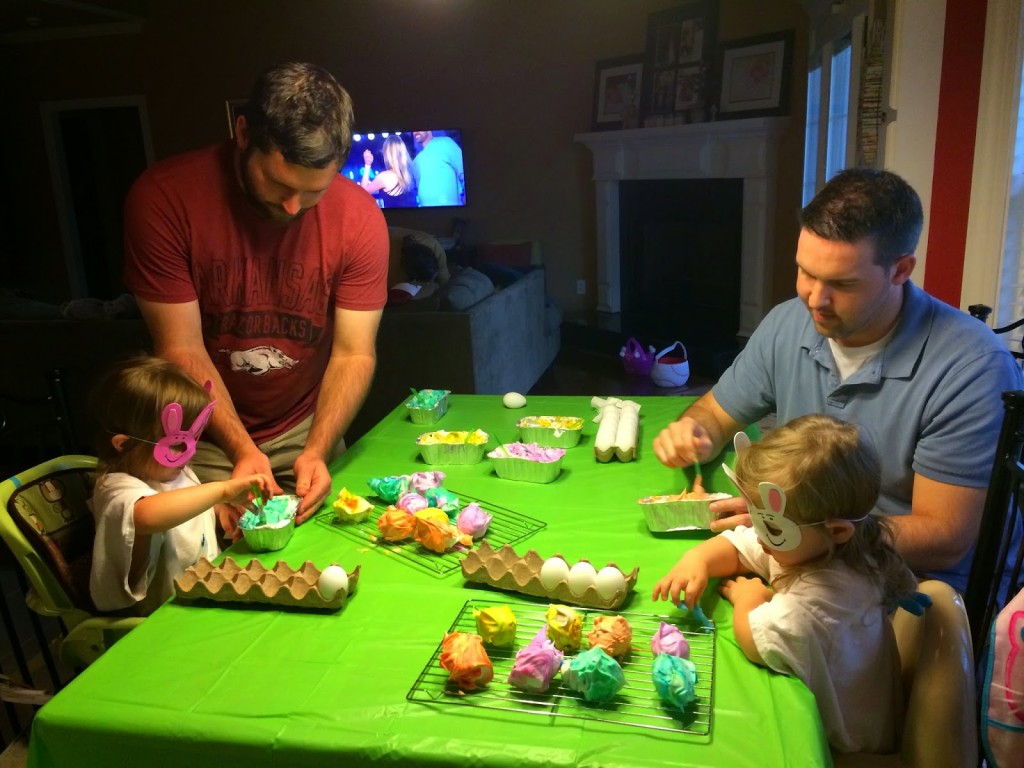
The two-year-olds were excited to color the eggs while the four-year-old was a bit hesitant. I gave each girl a spoon to stir the eggs around with if they didn’t want to immerse their hands into the foam.
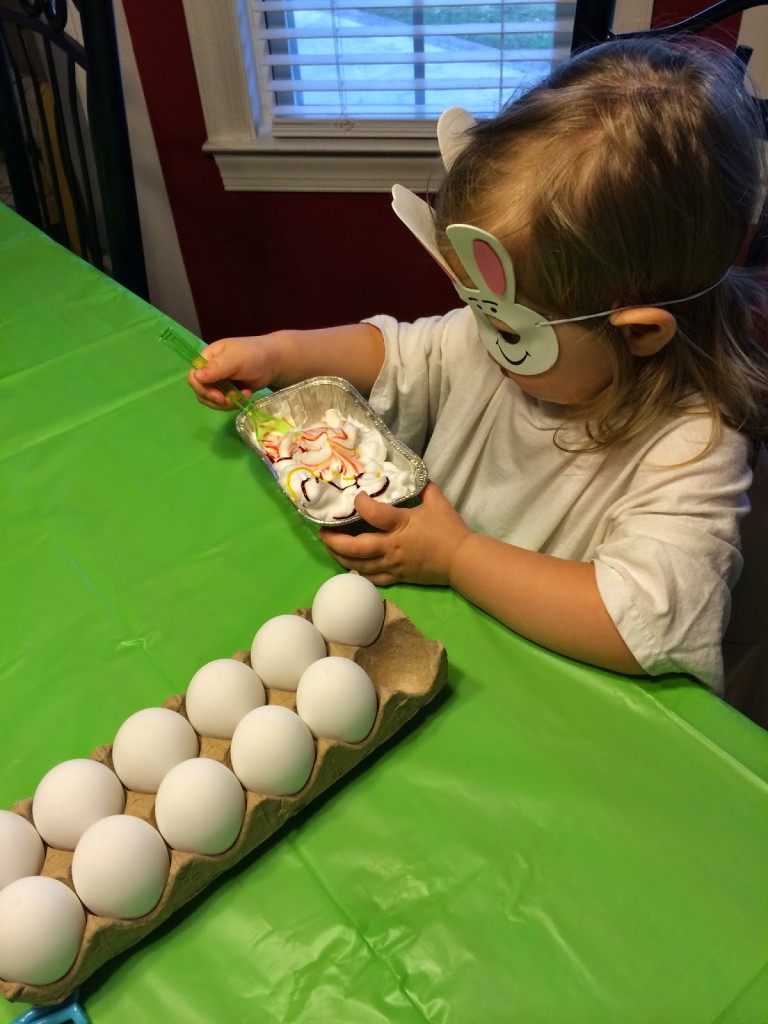
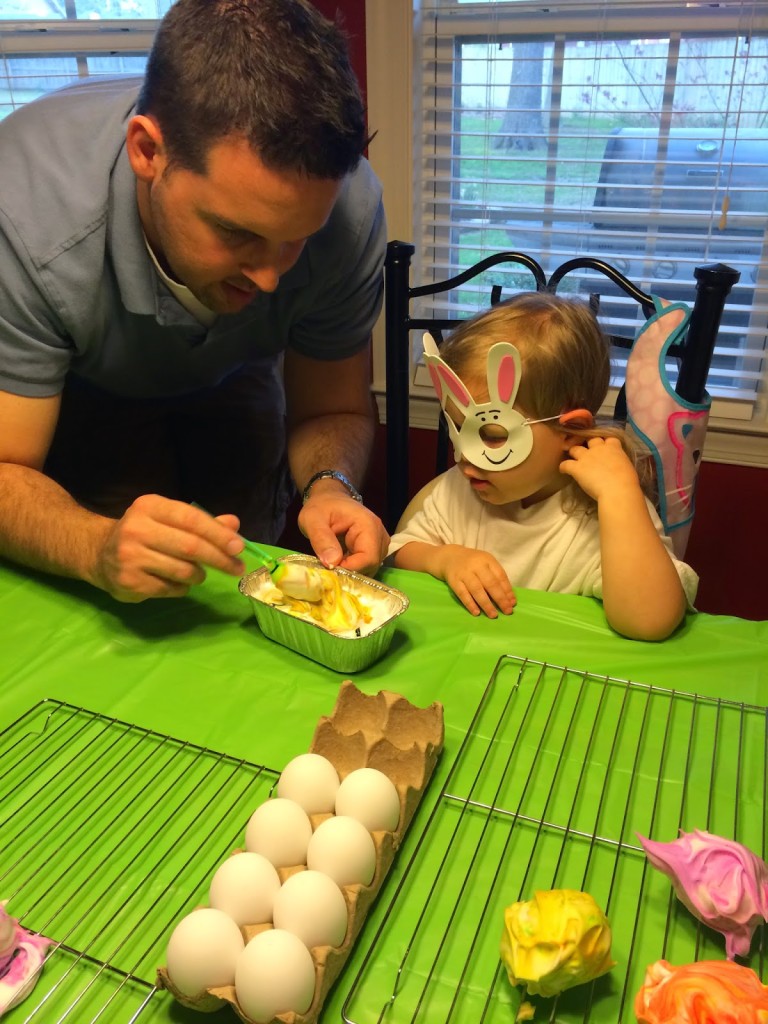
Aren’t these girls absolutely precious in their bunny masks and some old t-shirts of The Hubs?
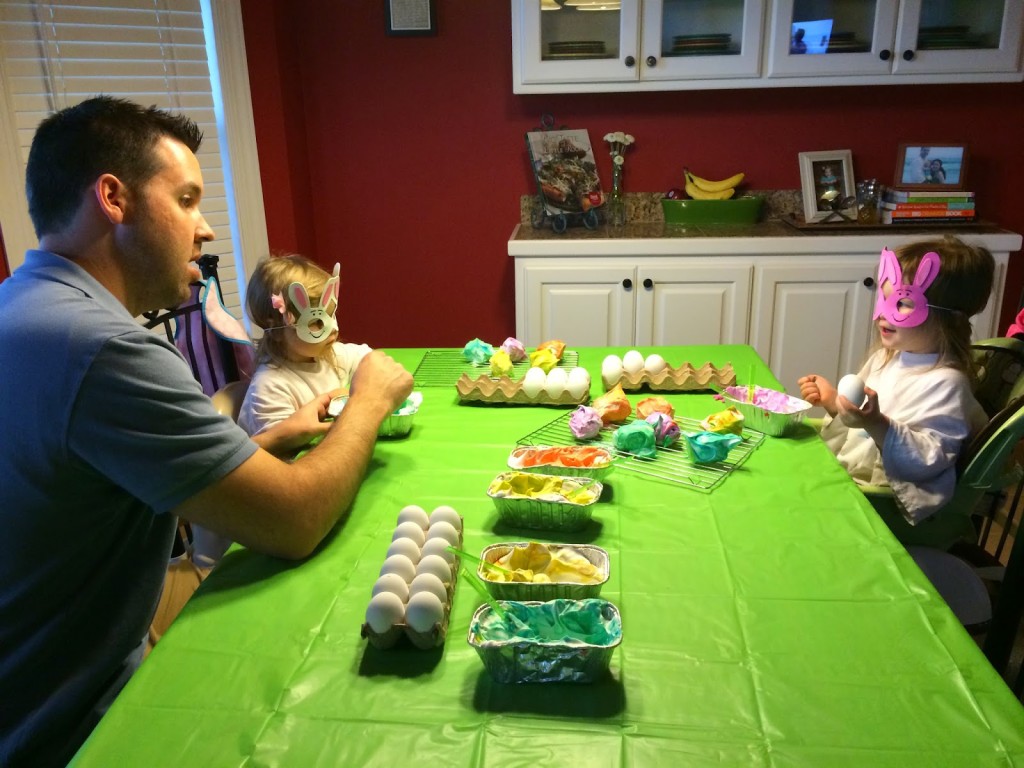
The mess factor is relatively low.
This shaving cream Easter eggs project turned into such a cute daddy-daughter activity!
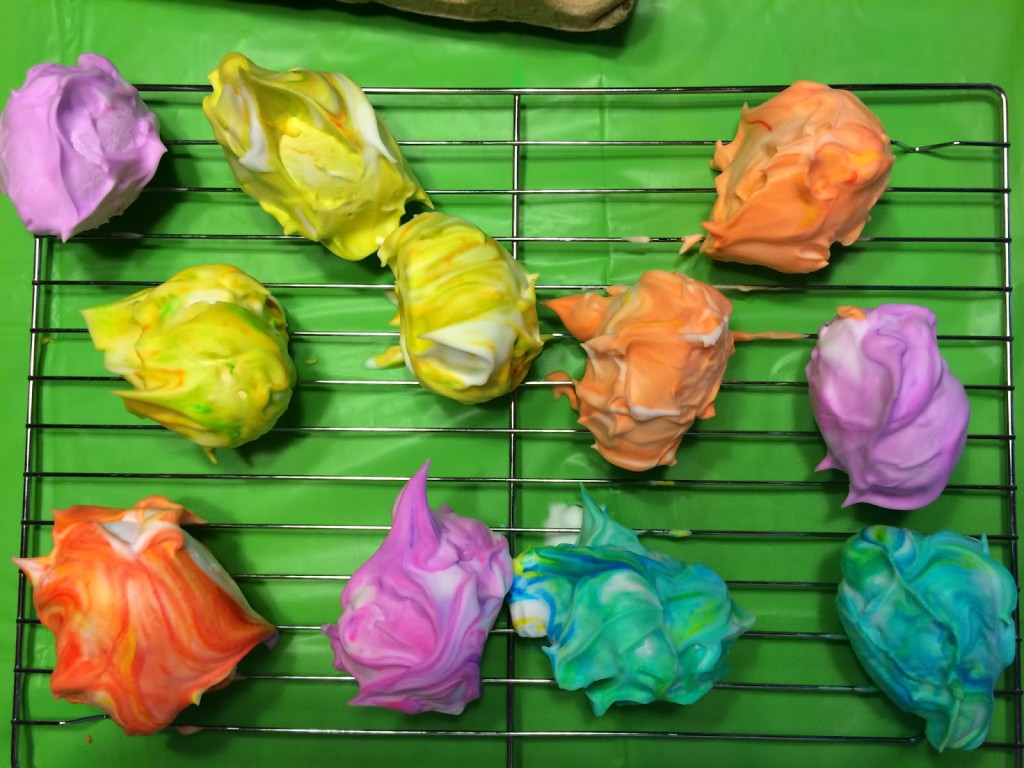
Once the eggs were rolled and colored to satisfaction, we set them on wire baking racks to dry. After about 10-15 minutes, we removed them and wiped off the excess foam with paper towels. The shaving cream eggs were beautiful and bursting with color!
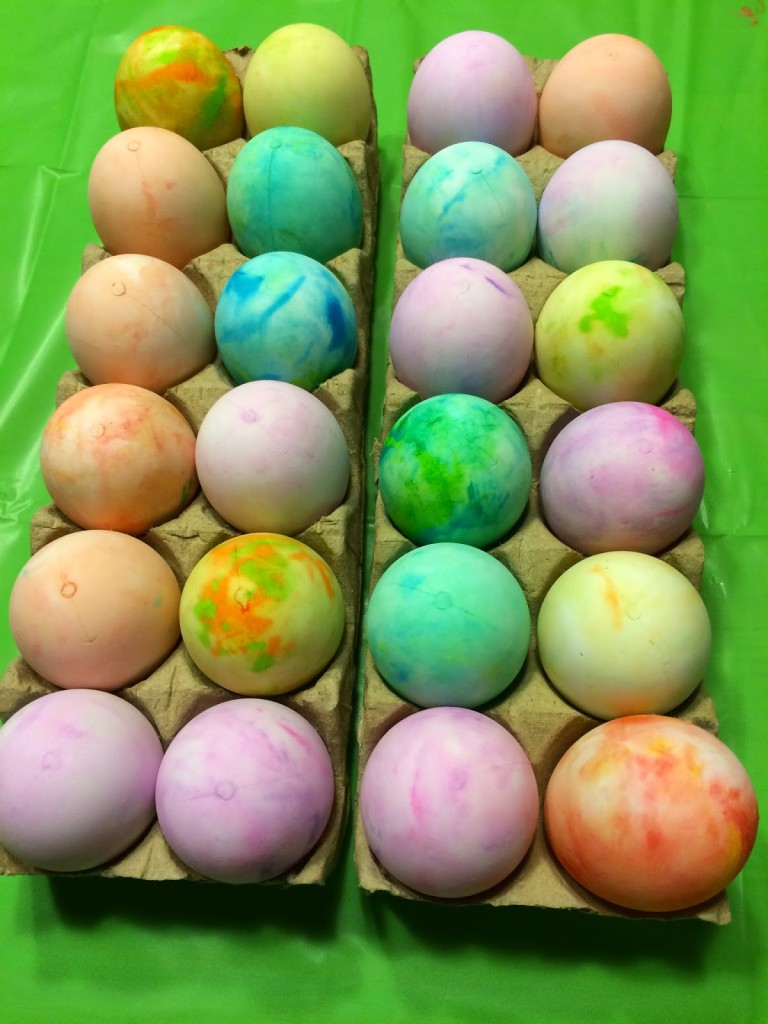
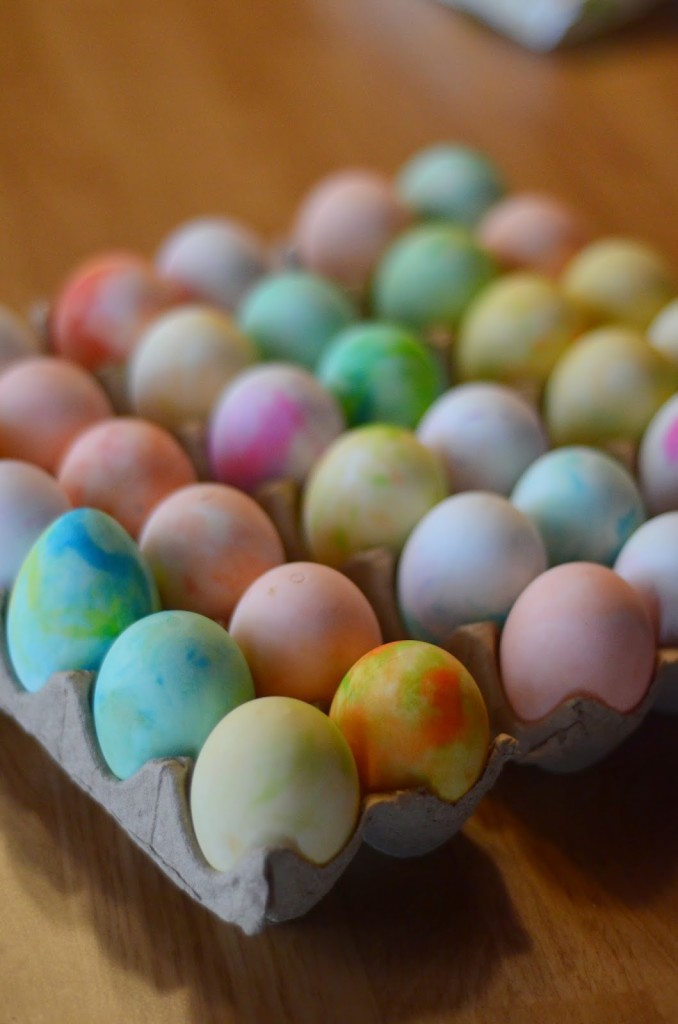
Pros of Dying Eggs with Shaving Cream
- Easy activity
- Few supplies needed
- Somewhat easy clean up
- Great sensory experience
- Fun daddy-daughter activity
Cons of Shaving Cream Easter Eggs
- Two-year-olds needed a great deal of help from parents with rolling the eggs evenly and removing them from foam.
- Much parent help needed for removing the excess dye from the eggs
- I didn’t think out the shaving cream enough. Next time, I would get odor-free shaving cream. The eggs had a strong chemical smell (which gives me a headache and irritates my asthma).
Overall, I thought this was a great activity for littles, although children three and up might be able to do some of the steps on a more independent level than the two-year-olds. Two of the issues mentioned were things I can control next time by buying odorless shaving cream and adding less foam to pie pans.
Have you ever wondered why do we dye eggs? There is quite a long history to this tradition! What is your favorite process for dying Easter eggs?
More Fun Ideas for Parents
Birthday Cake Waffles for Kids
First Time Tips for Disney World
Disney Animal Kingdom Outfit Ideas for Families
Back to School Party Ideas for Home
McDonald’s Birthday Party Ideas
Girly Halloween Birthday Party
Little Monsters Birthday Party
Teal and Maroon Family Outfits
Burgundy and Blue Family Outfits
Blue and Mustard Outfits for Family

Sarah Stockley (@kipperscurtains)
These look fab! We have done this on paper before, and we’ve also done it with nail varnish and water on eggs too. Marbling is such a cool effect. Sarah #FabFridayPost
The Gifted Gabber
Yes…have to love marble! Thanks for coming over!
Amy
Katherine,
Wow! I have never even heard of such a method. I am very intrigued by this. Thank you for visiting my blog this week!
Amy
Whitney,
I was sooo nervous about using the liquid types with two-year-olds. This process was so much better. Thanks for the comment!
Katharine
My favorite process is boiling them with veggies that can add color, such as wrapping them in cabbage leaves for blue eggs, or onion skins for yellow. But those are not very baby-friendly methods. This is too cute.
We used to write or draw things on our white eggs, using white or pale yellow crayons, before dying with the usual vinegar/food color dyes. The waxed places would not take the dye and would show up as design on the egg. That was my favorite when I was little.
THanks for sharing this lovely little project with us! 🙂
Whitney
This seems so much better than messy liquid!!
Amy
Thanks, Jennifer! It really was fun! I think three-year-olds would have an easier time of it!
Jennifer
This looks like a fun twist! We will have to try it next year!