I recently discovered the delightful world of making my own dried citrus wheels, and I just had to share my excitement with you! If you are looking for a fun homemade food gift to make and gift your friends and family, let’s jump into making dehydrated fruit gifts for cocktails today! Seriously, dried fruit gifts are the cutest and are so versatile and useful. And DIY citrus wheels are such a budget-friendly DIY Christmas gift idea! Of course, you can dehydrate fruit any time of year – not just at Christmas!
What are Dried Citrus Wheels?
Dried citrus is simply the result of taking fresh fruits like oranges, lemons, limes, or grapefruits and removing their moisture through a drying process. This not only concentrates their vibrant flavors but also gives them a chewy texture that’s incredibly satisfying. I love tossing dried citrus into my tea for a zesty kick or using it as a colorful garnish on my favorite cocktails.
Using Dried Citrus Fruit as Cocktail Garnish on Your Bar Cart
Years ago, I bought a bag of dried orange slices for cocktails at my local Tuesday Morning. They were rather pricey at the time, but I knew they would make a fun addition to my evolving bar cart.
Fast forward to this last year. I went to buy some more dried citrus for my cocktail bar, and wowsers! Those little slices of goodness have surged in price. Recently, I saw a small bag of six slices of oranges going for $7 at a local store. That’s more than $1 per THIN SLICE of orange! I went home and looked online. Sure enough, most of the dehydrated fruit wheels I saw were also selling for around $1 a slice.
No way! I mean I like to layer 2-3 fruit wheels in each drink so one package would only last for like three cocktails. I can’t afford to keep up with these cocktail luxuries at that rate!
I knew I could make those slices easily at home. All you need is oven, some fresh citrus, and a long afternoon at home. I highly recommend giving dried citrus a go—you’ll be hooked!
Other Ideas for Dehydrated Fruit Gifts
- Add dried citrus wheels to cocktails at parties year round.
- Use them in fresh citrus garlands and decorations for the holidays.
- Add them to charcuterie boards for a pop of color.
Making Dried Orange Slices in the Oven
I do not have a food dehydrator so I make my dried citrus for cocktails in the oven.
Making dried orange slices in the oven is super simple and easy! First, I preheat the oven to 200°F (about 93°C). While it’s warming up, I grab 6-7 oranges and slice them into thin slices, about a quarter-inch thick. The thinner the slices, the quicker they’ll dry out! I will usually need four different baking sheets to accommodate this many oranges. But if I’m making dehydrated citrus gifts, it only makes sense to do as many at a time as I can.
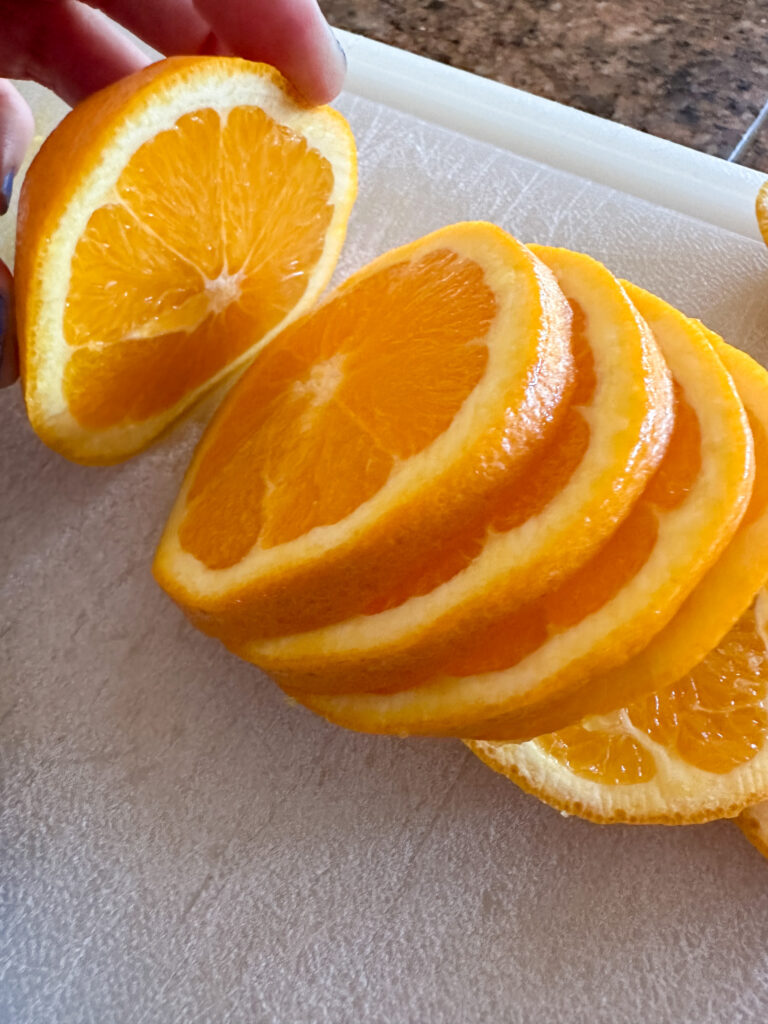
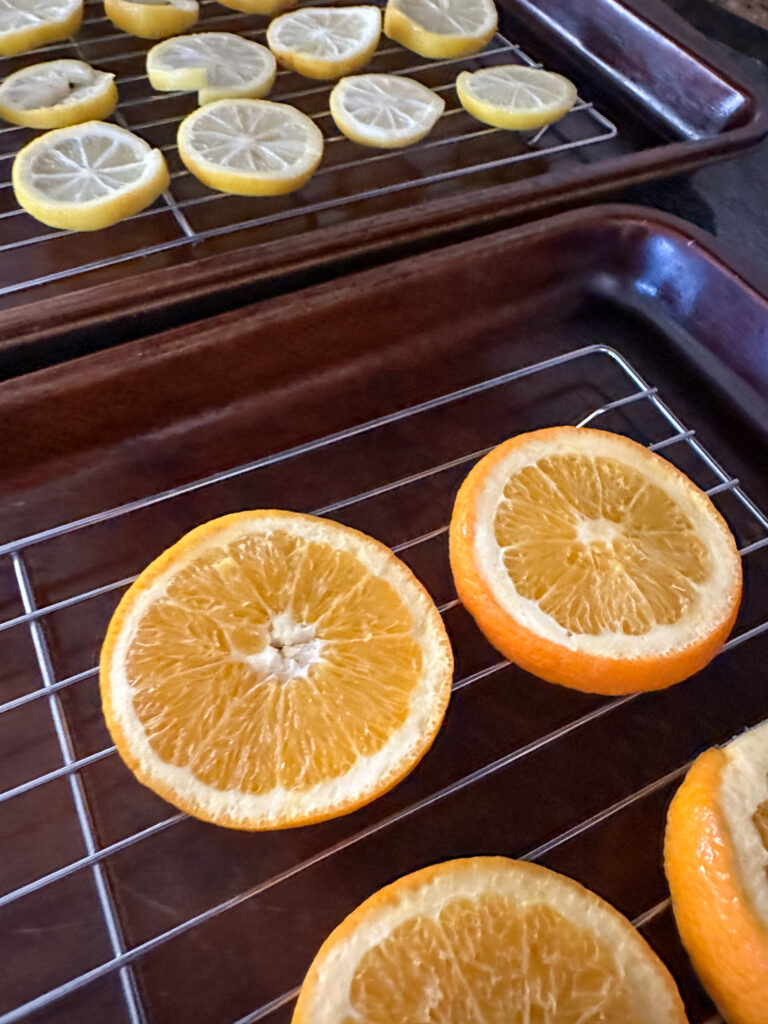
Next, I line a baking sheet with parchment paper or set a wire rack inside to prevent sticking, and arrange the orange slices in a single layer, making sure they don’t overlap. Then, I pop them in the oven and let them dry for about 2 to 3 hours, flipping them halfway through for even drying. Sometimes, they take longer – particularly if I have sliced them a little thicker. Therefore, I just keep an eye on them towards the end. You do want to make sure the moisture is completely gone from them or they have the potential to mold.
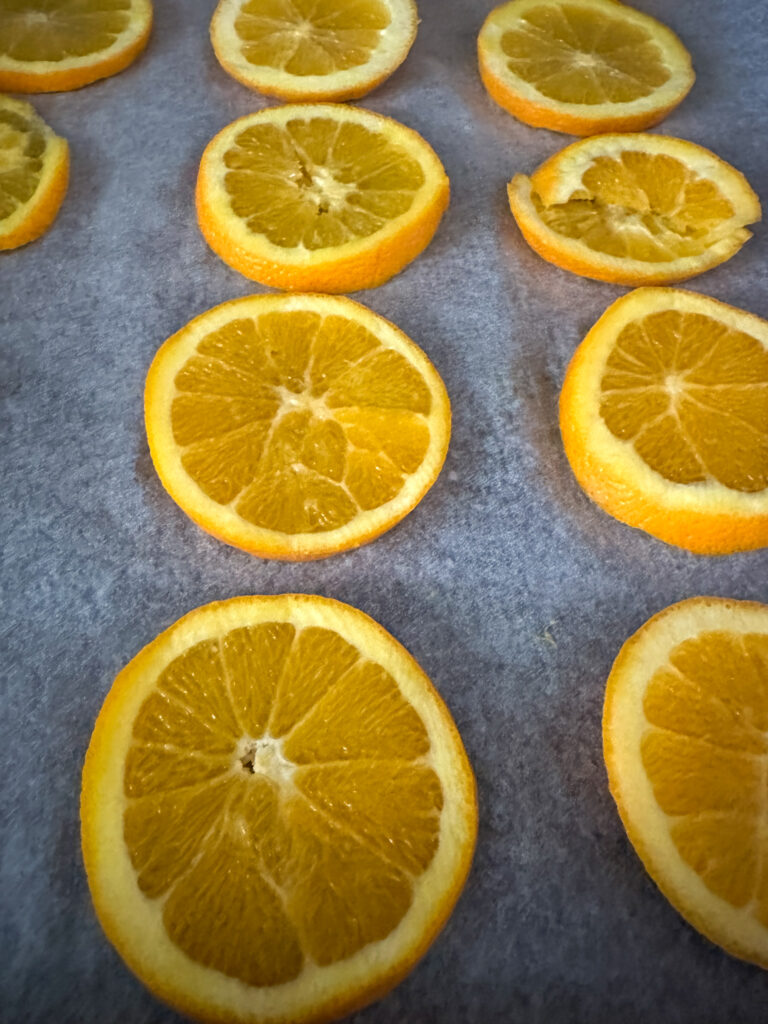
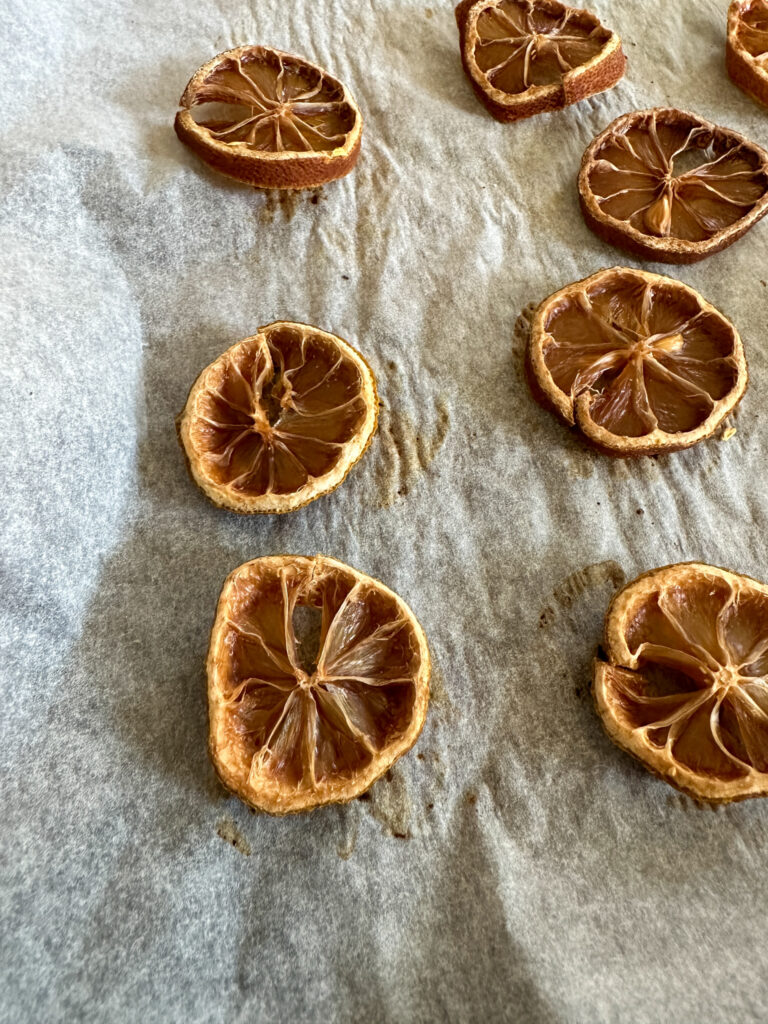
This is how they look after an hour and a half, before I flip them over and put them back in for another hour and a half or so.
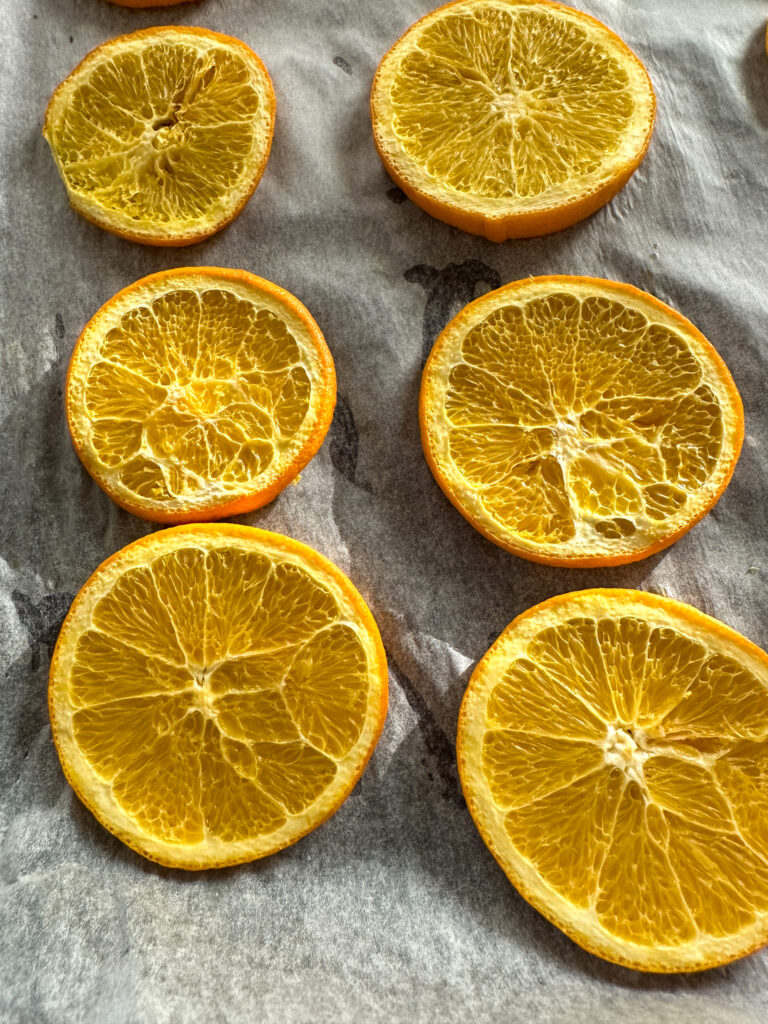
Once they’re nice and dried out, I place the baking sheets on the stove and let them cool.
And just like that, I have my very own homemade dried orange wheels ready to enjoy or gift!
Making Dried Lemon Slices in the Oven
Making dried lemon slices in the oven is just as easy! Again, I start by preheating the oven to 200°F. While that’s heating up, I grab a fresh lemon and slice it into thin rounds, aiming for about a quarter-inch thickness. Just like with the oranges, the key is to keep the slices uniform for even drying. I line a baking sheet with parchment paper and arrange the lemon slices in a single layer, ensuring they’re not overlapping.
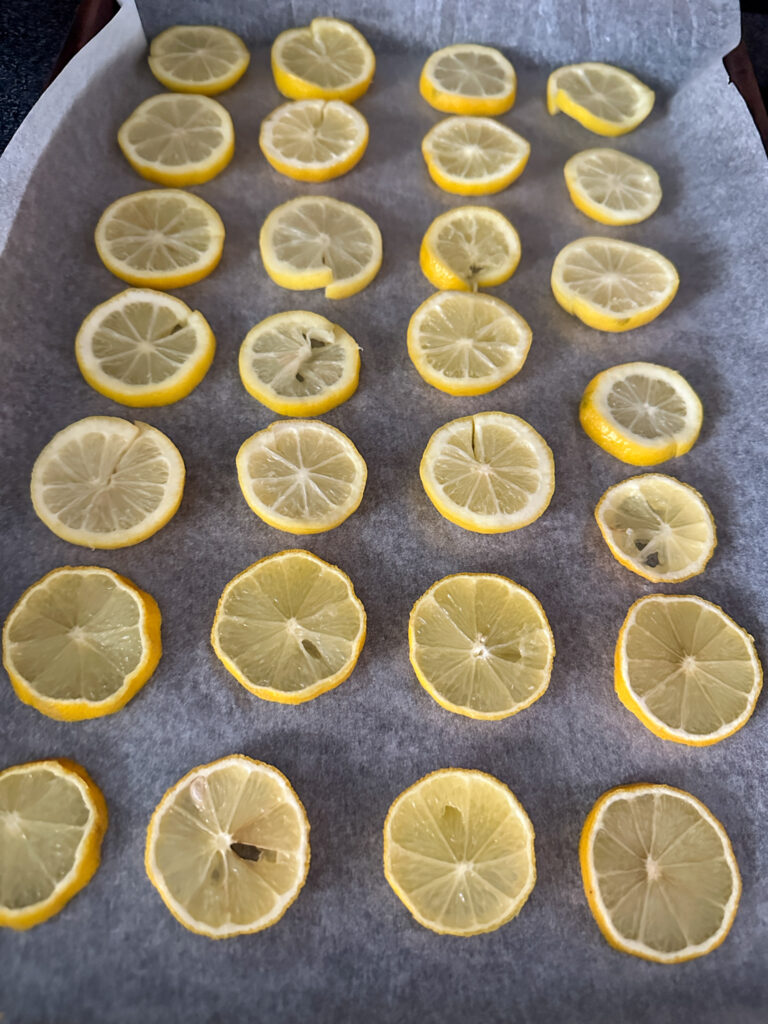
Then, I place them in the oven and let them dry for about 2 to 3 hours, flipping them halfway through to ensure they dry evenly. Just as with the oranges, I keep an eye on them, as they can go from perfectly dried to overdone quickly! Once they’re crisp and fragrant, I let them cool, and then I have perfect dehydrated lemon slices for cocktail garnish or tea additions.
Differences and Similarities Between the Two Types of Dried Fruit for Cocktails
Making dried orange and lemon slices in the oven is a fun process, and while both fruits share a similar method, you’ll notice some delightful differences in their flavors and textures once they’re dried. Dried orange slices tend to have a sweeter, more mellow taste, with a lovely chewy texture that makes them perfect for snacking or adding to dehydrated fruit garnish to charcuterie boards.
On the other hand, dried lemon slices pack a tangy punch, offering a bright, zesty flavor that can really elevate dishes and drinks like unsweet tea. The dried lemon slices actually turn up a bit darker than the dried orange slices – which surprised me the first time I made them.
Personally, I like to make a batch of each at the same time since they undergo the same process and time length in the oven. Additionally, you can also make dehydrated grapefruit wheels and dehydrated lime wheels for garnishes.
Sometimes, I even just bake them all together on the same baking sheet.
General Times for Dehydrated Citrus in the Oven
If you set your oven at 200 degrees F, you can anticipate the following bake times. However, depending on the thickness of your slices, it could take a little longer.
- Dehydrated Lime Slices: 2-3 hours
- Dehydrated Lemon Slices: 2-3 hours
- Dehydrated Orange Slices: 3-4 hours
- Dehydrated Grapefruit Slices: 5-6 hours
Gifting Dehydrated Fruit Gifts with Free Printable
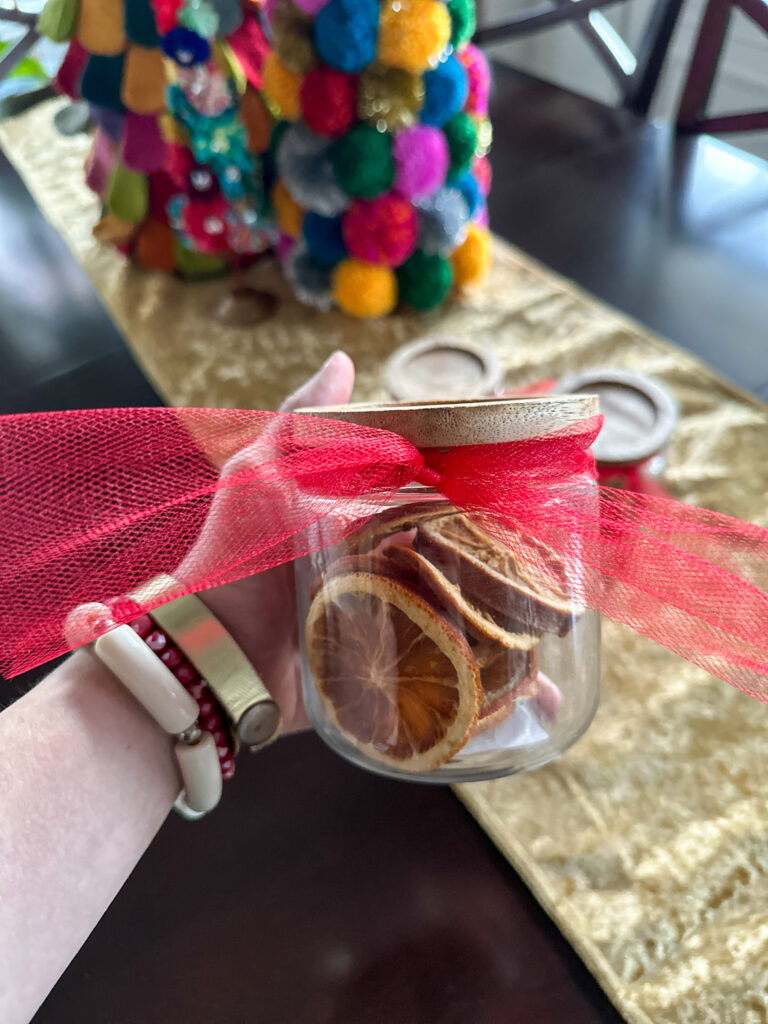
I like to hit up places like TJMaxx/Home Goods for cute little jars. I’m a sucker for jars with a wooden lid! But you have to be careful and make sure the lids tightly close. Some lids just sit on top to look nice but don’t provide a great seal.
To gift these dried citrus for Christmas gifts, I simply fill up the little jars with as many dehydrated fruit slices as will fit.
My dehydrated fruit gift jars always turn out so cute – especially with a festive ribbon tied around the lid. These gifts are perfect for neighbors, coworkers, and more.
After I made the batches I photographed for this post, I came up with the idea to whip up a cute little printable fruit gift tag to accompany the dehydrated fruit gift jars. I didn’t get any pictures of the tags on my jars since the idea came too late. But, luckily for you, I have my free dried fruit gift tags ready for you to download and use on your own DIY dehydrated citrus gift jars.

Of course, for an even more budget-friendly gift, you could forego the jars and place the dehydrated fruit slices gifts in Ziplock bags with a cute ribbon and tag. I would just make sure everyone knows that they need to keep the slices locked up tight – regardless of how you gift them.

Tips for Making and Storing Dried Fruit Gifts
- Slice the citrus as uniformly as possible so they will all dry out in a similar time range. Aim for 1/4 inch or thinner. Thicker slices are going to take longer time to dry out.
- Place the wheels on either parchment paper in a baking sheet or on a wire rack inside of a baking sheet. Otherwise, you may risk the fruit sticking to your baking pan.
- Make sure you intend to be at home for many hours before you venture into this project. These DIY citrus wheels will need hours in the oven.
- Store the (completely dried) dehydrated fruit wheels in an air-tight container for up to one year in a dry and cool place. ( I like to keep mine either in an air-tight glass jar on my bar cart or in a Ziploc bag in my refrigerator. They last a long time!)
Who do you plan to make these DIY dehydrated fruit gifts for this year? Mine are going for coworkers and neighbors!


Dehydrated Citrus Wheels for Gifts and Garnish
Ingredients
- 6 Oranges *Or Lemons or a combination of both.
Instructions
- Pre-heat oven to 200℉.
- Thinly slice oranges in uniform size – no more than 1/4 inch each. Thinner is better!
- Place orange or lemon slices on parchment paper or on wire racks inside rimmed baking sheets. Make sure nothing overlaps.
- Bake fruit slices in the oven for 3-4 hours, flipping over once halfway.
- *When slices are completely dried out, remove them and store in an air-tight container.

Leave a Reply